How to Moisturize a Hard to Reach Back
Quick Summary
The best way to moisturize a hard to reach back is to pick a tool that matches your mobility, such as a long-handled applicator, a reacher, or a soft-grip option. Apply lotion to slightly damp skin, working the upper, middle, and lower back in order with long, overlapping strokes.
- Check your shoulder reach first to choose between a long-handled applicator and a reacher-style tool.
- Apply moisturizer to slightly damp skin right after a shower, not bone-dry skin.
- Load the applicator with a small amount and reload only when it starts to drag.
- Work upper, middle, and lower back as three zones, finishing each before moving on.
- Clean reusable applicators with mild soap once a week and replace them if torn or smelly.
Table of Contents
- Choosing a Method Based on Your Mobility
- Best Tools for Applying Lotion to Back
- How to Put Cream on Your Back Step by Step
- Moisturizing Your Back After a Shower
- Using a Back Lotion Applicator Safely and Hygienically
- Booking Your Next Step With a Reacher That Fits Your Routine
- Frequently Asked Questions
Why Your Back Is Hard to Moisturize Alone
Your back is one of the hardest areas of your body to reach. You cannot see it well, which makes it hard to reach back on your own. That is why many people skip it, or only rub lotion on the parts they can reach.
Most people find that the upper back and shoulders are easy to miss. The lower back is just as tricky, and it is hard to reach back there with any consistency. Over time, dry patches build up in the spots nobody covers.
Here is the core problem: the back is a large surface, and it needs the same care as the rest of your skin.
Last Updated: October 31, 2026
Choosing a Method Based on Your Mobility
The right method depends on how far your arms and shoulders can move. Start with an honest check. Can you reach your opposite shoulder? Can you reach the middle of your back?
- Full mobility: A long-handled applicator works well.
- Limited shoulder movement: A reacher-style tool gives you more reach with less strain.
- Arthritis or stiffness: Choose tools with soft, easy grips.
If reaching hurts, stop. A method you can use safely every day beats an advanced one you avoid.
Best Tools for Applying Lotion to Back
There is no single best tool, the right choice depends on your mobility, the texture of your moisturizer, and how much setup you are willing to do each day. Use the criteria below to compare options instead of buying the first applicator you see.
Selection criteria that matter most:
- Handle length: A handle that is too short forces you to strain; too long and you lose control. A common pattern is to choose a handle that lets you reach the middle of your back with a slightly bent elbow, not a fully extended arm.
- Grip: Soft, slightly textured grips help if your hands tire or you have arthritis. Look for grips that stay secure when your hands are damp after a shower.
- Pad shape and size: A curved or contoured pad follows the shape of your back better than a flat one. A pad that is too large can waste lotion; too small and you make many passes.
- Replaceable heads: Pads wear out and harbor residue. Replaceable heads are easier to keep hygienic than a one-piece tool.
- Ease of cleaning: Smooth, non-porous surfaces rinse clean; porous sponges need more frequent replacement.
Common tool types and trade-offs:
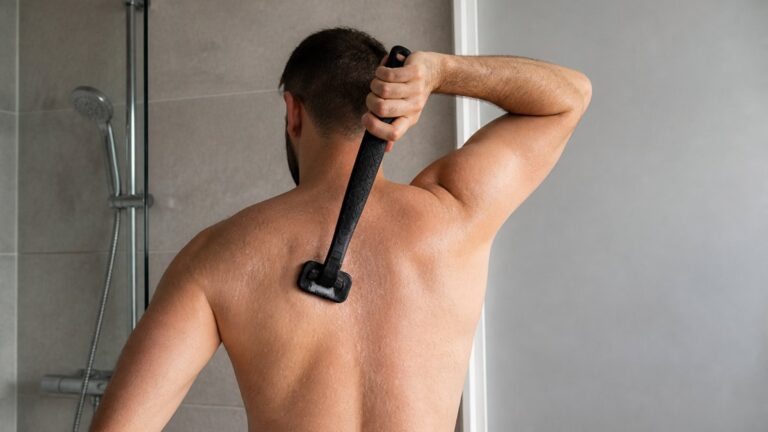
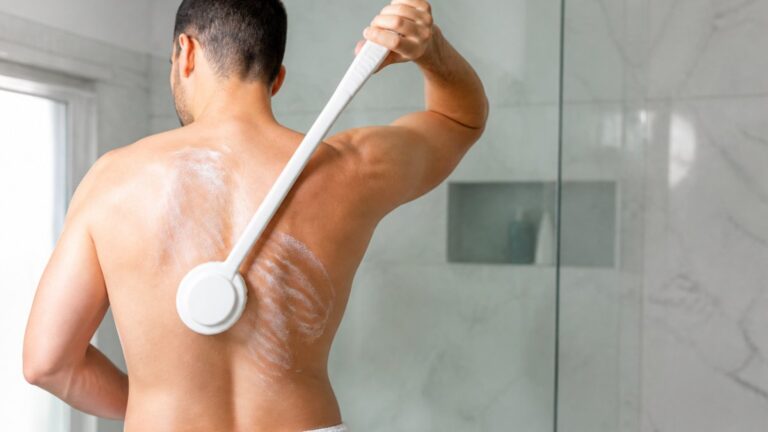
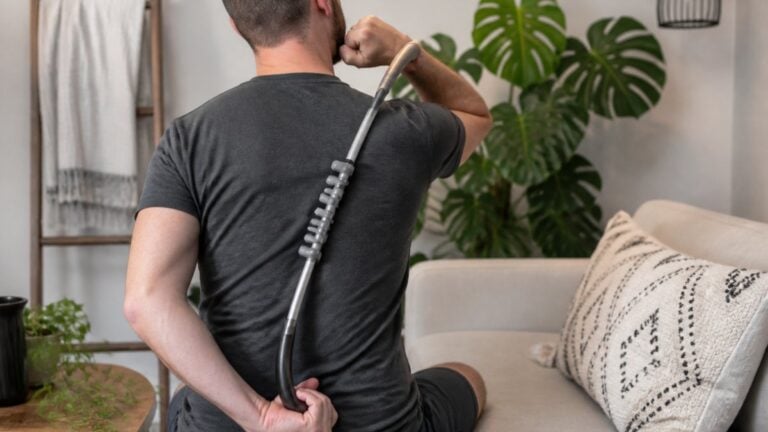
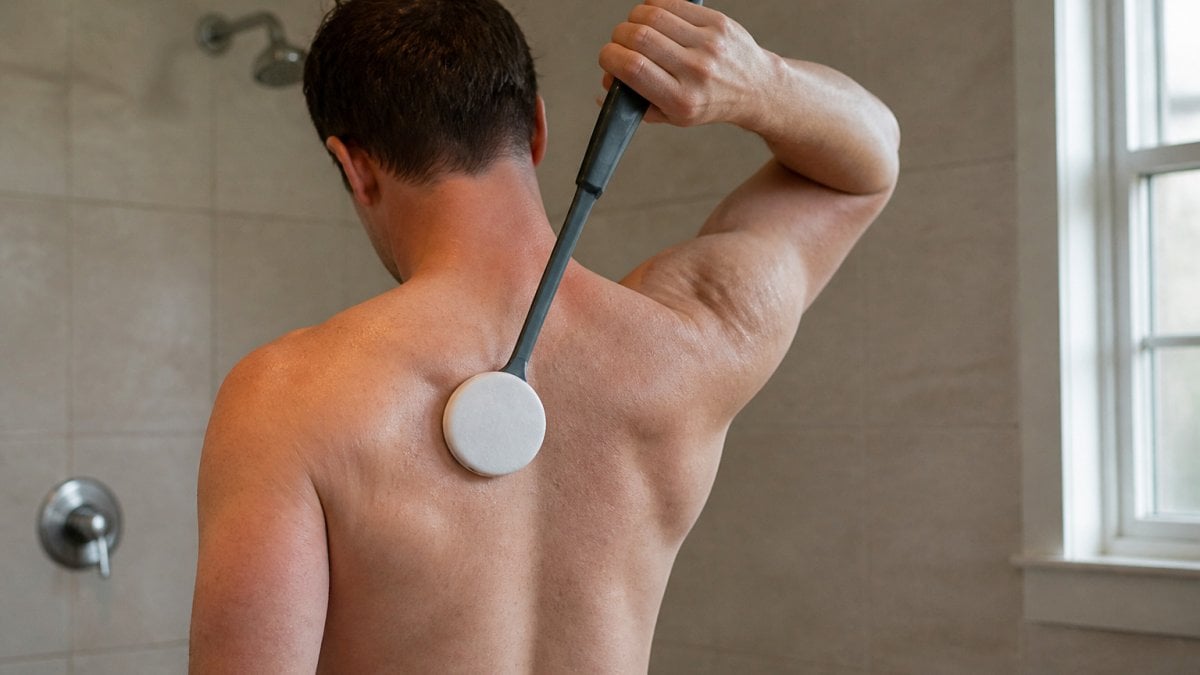
- Long-handled lotion applicators: Best for even coverage across the upper and middle back. Choose one with a curved head and a replaceable pad.
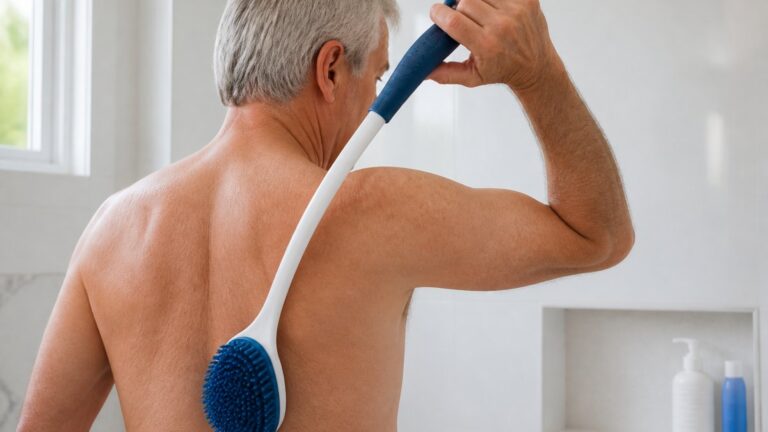
- Back sponges or bath brushes: Good for scrubbing and for reaching the lower back, but they absorb lotion and can be harder to clean. Reserve one for moisturizer only.
- A towel or cloth held in both hands: The lowest-cost DIY option. It works for the lower back and sides but gives less control over the upper back.
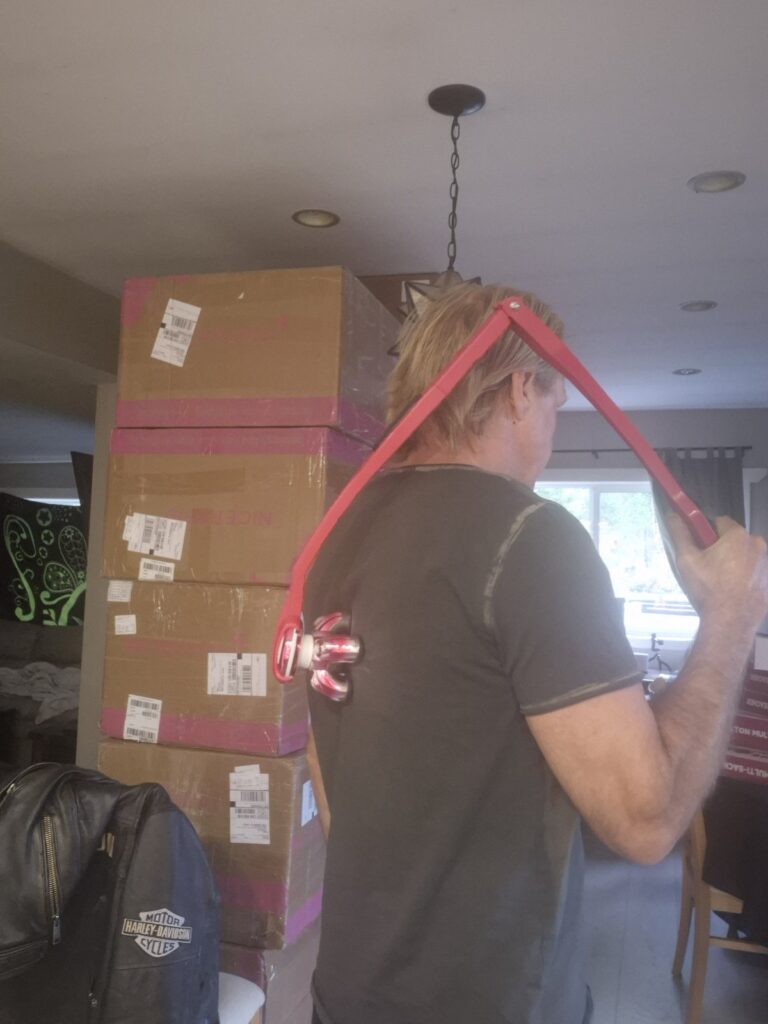
- Reacher-style tools: Useful if shoulder mobility is limited, because they extend your reach without requiring you to raise your arm as high.
- Curved or extended-reach tools: Helpful for the mid-back, where a straight handle tends to miss the center.
Match the tool to your moisturizer texture:
- Lotions spread easily on smooth applicator pads but can drip off sponges.
- Creams stay on the pad better and give more control for thick dry patches.
- Ointments and thick balms can drag on porous surfaces and are best applied with a smooth, non-absorbent pad or with your hands where you can reach.
Pick one tool to start and add another only if a specific area stays uncovered. A tool you actually use every day beats a more advanced one you avoid.
How to Put Cream on Your Back Step by Step
Most people miss patches because they apply randomly instead of working through the back in a fixed order. Use this systematic sequence so every area gets covered.
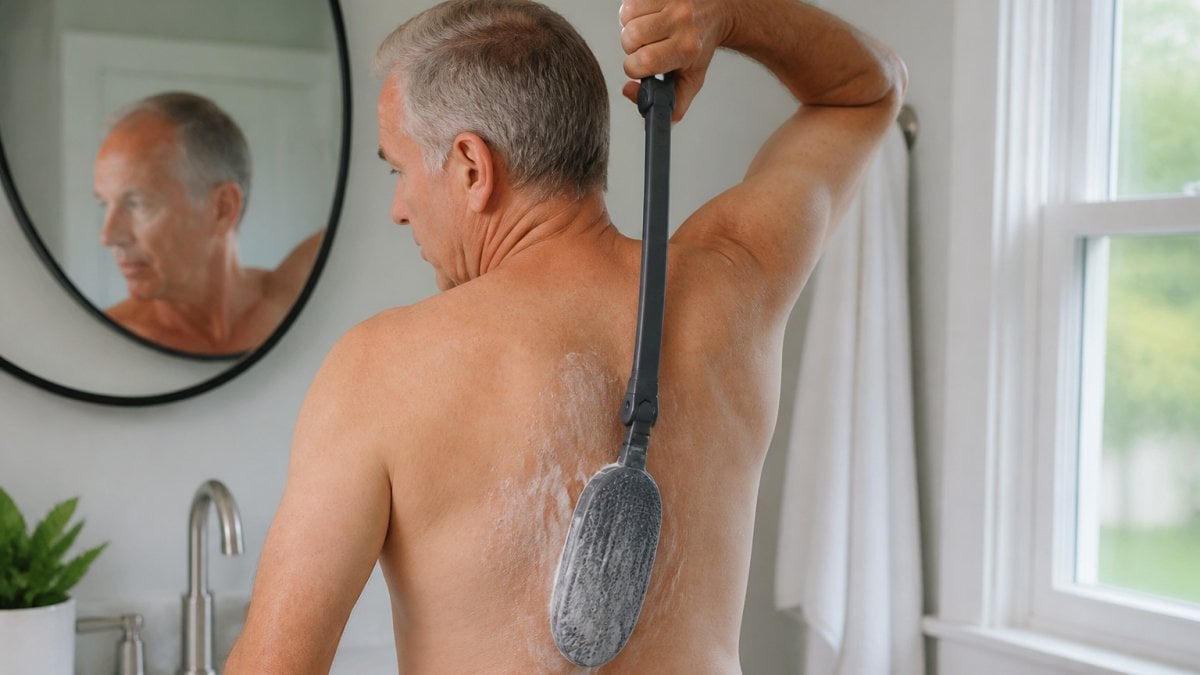
- Start with slightly damp skin. Pat dry after a shower but leave a little moisture. Very wet skin dilutes lotion; bone-dry skin makes it drag.
- Load the applicator, not your back. Squeeze a small amount onto the pad or cloth. Start with less than you think you need, you can add more, but excess wastes product and makes coverage uneven.
- Work top to bottom in zones. Treat the upper back, middle back, and lower back as three separate zones and finish each one before moving on.
- Use long, overlapping strokes. Overlap each stroke by about half the width of the pad so you do not leave stripes of dry skin between passes.
- Check the spots you cannot see. The center of the back, the area just below the shoulder blades, and the lower back near the waistband are the most commonly missed.
Upper Back and Shoulders
Reach over one shoulder with the applicator and work in small circles across the shoulder blade, then switch sides. Keep your elbow relaxed rather than fully raised. For the center of the upper back, angle the handle diagonally rather than trying to reach straight across.
Middle Back
This is the hardest zone for most people. A curved or extended-reach tool helps here. Work from the spine outward on each side in short, overlapping strokes, and use your other hand to steady the handle if needed.
Lower Back
Bend slightly forward at the hips or lean your upper back against a wall to bring the lower back into easier reach. Use short, even strokes from the waistband upward, overlapping as you go. Finish by running the pad along the sides where dryness often hides.
If you have limited shoulder mobility, apply the lower back first while you are least tired, then the upper back, and leave the middle back for last when you can use a reacher-style tool with both hands.
Avoiding uneven application:
- Do not reload the applicator for every stroke; reload only when it starts to drag.
- Use the same stroke direction within each zone so you can feel where you have already been.
- If a patch still feels dry after it absorbs, add a small amount rather than a full new layer.
If reaching any zone causes pain, stop and switch to a tool or ask for help rather than pushing through.
The article breaks the process into a fixed order of zones, with the timing and tips for each step.
| Step | What to do | Time or frequency |
|---|---|---|
| Prepare skin | Pat dry, leave slightly damp | Right after shower |
| Load applicator | Squeeze small amount onto pad | Reload only when it drags |
| Upper back | Reach over shoulder, small circles | One zone at a time |
| Middle back | Work from spine outward, short strokes | Hardest zone; use curved tool |
| Lower back | Lean forward or against wall, upward strokes | Finish along the sides |
| Stroke overlap | Overlap each stroke by half the pad width | Avoids dry stripes |
Moisturizing Your Back After a Shower
The best time is right after a shower, while your skin is still slightly damp. Pat your skin dry, leaving it a little moist. Then apply your moisturizer. This locks in water and helps the cream spread more evenly.
Make it part of your routine. Keep your applicator and lotion in the same place so you use them every day.
Using a Back Lotion Applicator Safely and Hygienically
A reusable applicator needs regular cleaning. Rinse it with warm water after each use. Let it dry fully before you store it.
- Wash the applicator with mild soap once a week.
- Replace it if the pad tears or smells bad.
- Do not share your applicator with others.
- Keep lotion caps closed to prevent contamination.
If your skin is dry, sensitive, or irritated, choose a fragrance-free moisturizer and test it on a small area first.
Booking Your Next Step With a Reacher That Fits Your Routine
Start with the method that matches your mobility, then add a tool that makes it easier. Once your routine feels natural, you can refine it.
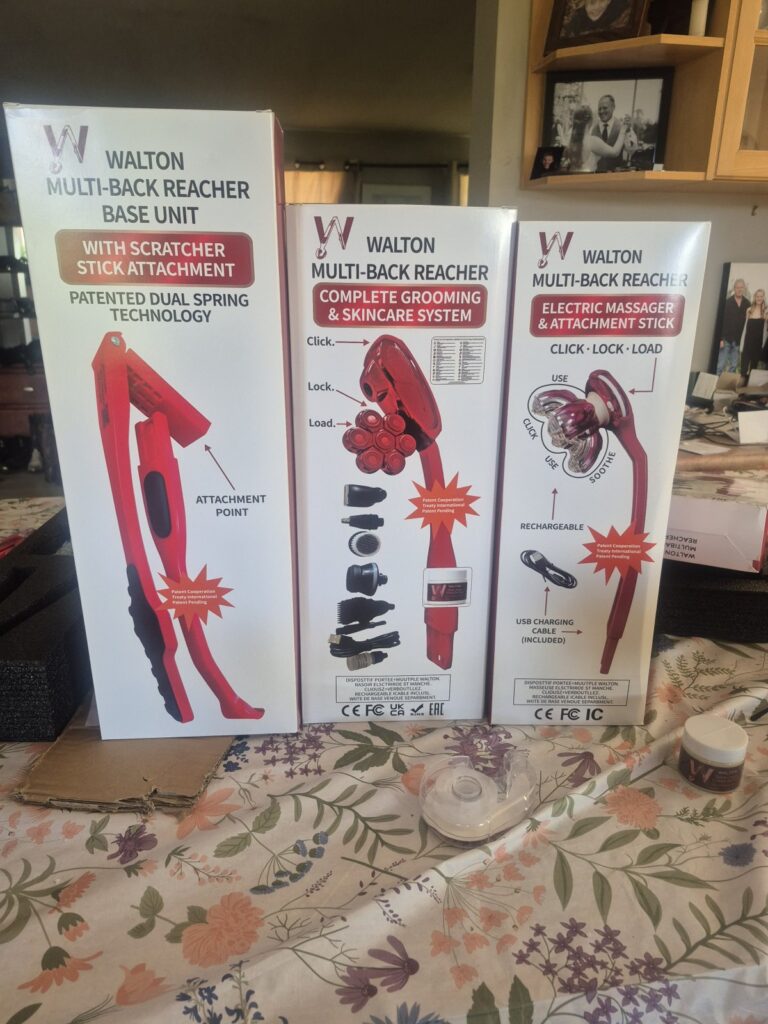
If you are looking for a back maintenance tool with interchangeable attachments, you can learn more about the Walton Multiback Reacher on its product page, where current pricing and availability are listed.
Frequently Asked Questions
How do people put lotion on their back?
Most people use a long-handled applicator, a back sponge, or a towel and reach over the shoulder or around the waist. Start with the upper back, then work down in overlapping strokes. Warm the lotion in your hands first so it spreads more easily. A slightly thicker cream is easier to control than a thin lotion on a tool, and you can check coverage by feel with your fingertips after each section.
Should you moisturize your back after showering?
Yes. Applying moisturizer to damp skin within a few minutes of showering helps trap water in the skin. Pat your back dry gently with a towel rather than rubbing it, then apply a thin, even layer. Dry, itchy patches on the back are common, so a regular routine is worth keeping, especially if your skin feels tight after washing.
How much lotion should you use on your back?
Use enough to cover the skin in a thin, even layer without pooling. Start with a small amount, roughly a coin-sized dollop for the upper back, and add more only where the skin still feels dry. Too much lotion can leave the skin greasy and harder to apply evenly, so work in smaller amounts and blend well.
Can I clean and reuse a back lotion applicator?
Yes. Wash a sponge or applicator pad with warm water and mild soap after each use, rinse thoroughly, and let it air dry fully before storing. Moisture left in a closed bathroom cabinet encourages bacteria, so keep reusable tools hanging where they can dry. Replace worn or discolored pads regularly to keep application hygienic.