How to Apply Lotion to Back: 7 Steps for Hard-to-Reach Skin
Last Updated: October 22, 2026
Quick Summary
To apply lotion to back skin on your own, load a long-handled applicator with a line of product about the length of your index finger and work in four zones: lower left, lower right, upper left, upper right. Use slow, overlapping strokes that cross the center line, choose a reach technique that matches your shoulder mobility, then check with two mirrors for missed patches.
- Divide your back into four zones and apply bottom-up in each zone.
- Start with a line of product about the length of your index finger.
- Use two mirrors to check the upper center and shoulder blade edges.
- Rinse the applicator pad or roller head after every single use.
- For self-tanner, apply thin layers rather than one thick layer.
Table of Contents
- Why Reaching Your Back Is Harder Than It Looks
- What You’ll Need Before You Start
- Step-by-Step: How to Apply Lotion to Back on Your Own
- Choosing a Lotion Applicator for Back Coverage
- How to Moisturize Your Back by Yourself Without Missing Patches
- How to Apply Tanning Lotion to Your Back for an Even Finish
- Sunscreen, Medicated Creams, and Irritated Skin
- Common Mistakes to Avoid
- Frequently Asked Questions
Why Reaching Your Back Is Harder Than It Looks
Your back is the one part of your body your hands can’t fully serve. According to the American Academy of Dermatology’s guidance on daily skin care, moisturizing is a core step in any skin routine, yet the middle of the back sits at the exact limit of shoulder rotation for most adults.
At Walton Multiback Reacher, we’ve spent years studying that gap between hand and spine. The shoulder joint rotates roughly 180 degrees in most flexible adults, and the mid-back requires reaching beyond that arc. Age-related stiffness shrinks it further. A common mistake is straining harder instead of changing the tool.
You don’t need more flexibility to moisturize your back. You need a method that works with the range you actually have.
What You’ll Need Before You Start
Gather your supplies first so you’re not fumbling mid-application with slippery hands.
- Your lotion, cream, or medicated product at room temperature
- A long-handled lotion applicator with a washable pad or roller head
- A hand towel for grip and cleanup
- A mirror (a wall mirror plus a hand mirror works well)
- A spray bottle if you’re using a liquid formula
The right applicator matters more than most people think. A lotion applicator for back use should reach the mid-spine without forcing your shoulder past its limit. Look for a handle that stays stable when you change angles. Fixed curved handles tend to fight you at the top of the reach.
Warm a thick cream between your palms for a few seconds before loading the applicator. It spreads more evenly and needs less product to cover the same area.
Step-by-Step: How to Apply Lotion to Back on Your Own
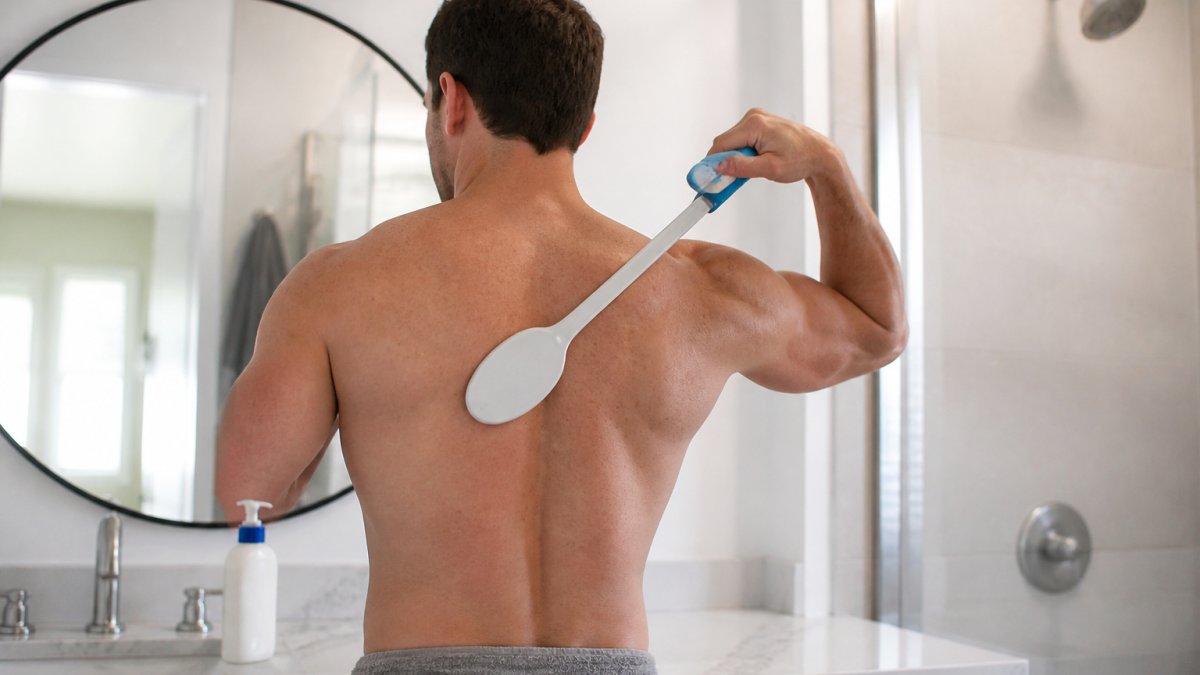
Most guides give you one sequence and assume your shoulders work the same as everyone else’s. They don’t. The steps below are the same core method, but the reach technique in Step 4 changes based on how far you can rotate your shoulder. Pick the version that matches your mobility and work through it slowly the first few times.
Step 1: Start With Clean, Dry Skin
Apply to clean, dry skin for the best absorption. Lotion on top of sweat or residue sits on the surface and pills. Pat your back dry after a shower, then wait a minute. For medicated creams, follow the product’s directions on damp versus dry skin.
Step 2: Measure the Right Amount
Most people use too little, then miss patches. Start with a line of product about the length of your index finger for the whole back, and add a second line if your skin is very dry or you’re using a thick cream. For sunscreen, use more than feels natural, a thin, patchy layer leaves gaps unprotected. Load the pad until it looks slightly over-full, then spread it thin rather than under-loading and pressing hard.
Step 3: Work in Four Zones, Not One Sweep
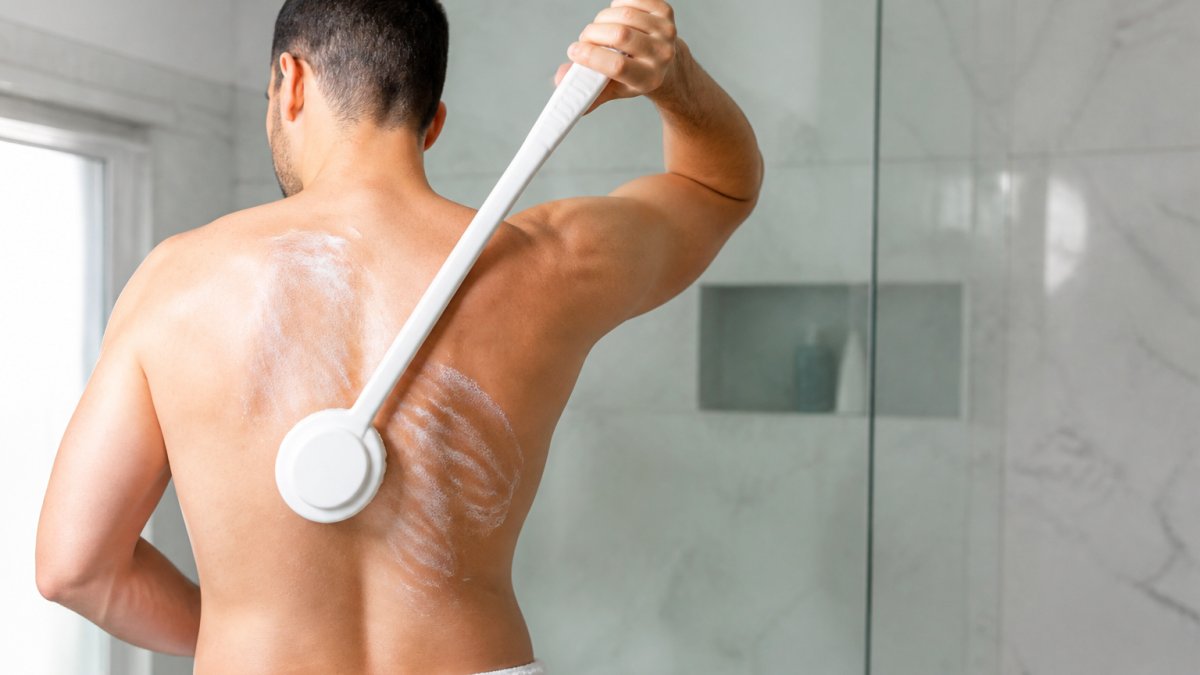
Divide your back into four zones: lower left, lower right, upper left, upper right. Apply to each in turn with slow, overlapping strokes that cross the center line, which stops you from defaulting to your dominant side and leaving the opposite shoulder blade dry. Working bottom-up within each zone lets gravity help and keeps your arm in a comfortable range.
Step 4: Choose Your Reach Technique by Mobility Level
The right technique depends on how far your shoulder rotates and whether you have grip or hand discomfort.
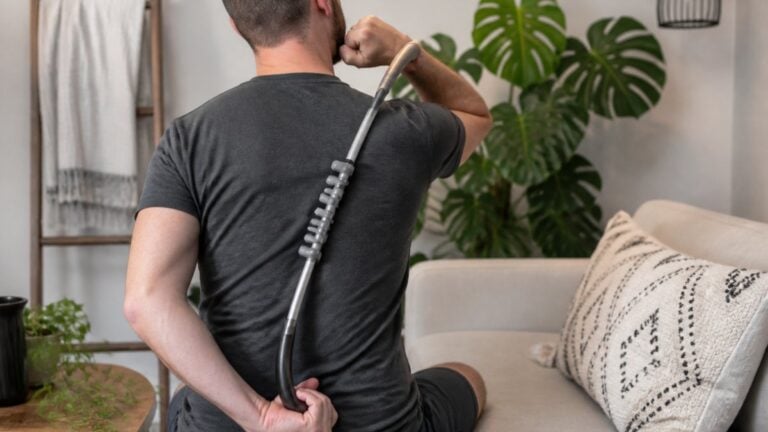
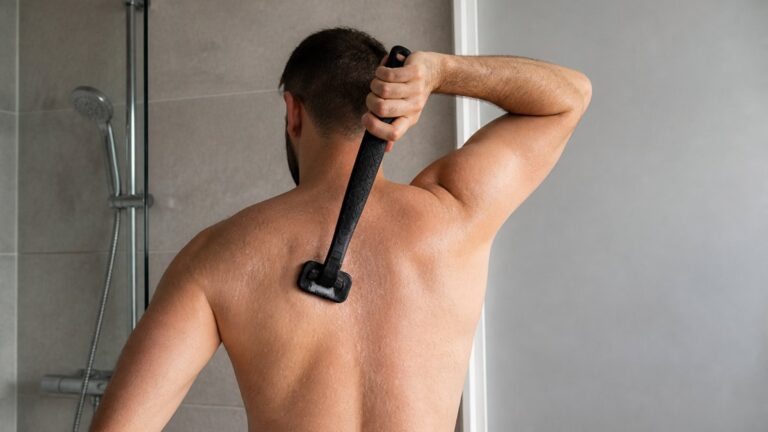
Full mobility (can reach over the shoulder and around the side): Angle the handle over the shoulder for the upper back and around the side for the lower back. Use a flexible handle so the pad stays flat as you change angles.
Very limited reach or hand weakness: Use a long-handled applicator with a stable grip and work in smaller zones, reloading more often.
Post-surgery or one-arm use: Keep the product on a stable surface at waist height, load the applicator before positioning your arm, and apply in short strokes. Avoid twisting your torso to compensate for a limited arm.
Step 5: Check With a Mirror
Use two mirrors to spot missed patches. Look for dull or flaky areas, and for sunscreen, a visible film that stops short of the shoulder blades. The upper center of the back and the outer edges of the shoulder blades are missed most often, check those first.
Step 6: Wash the Applicator
Rinse the pad or roller head after every use. More on that below.
Step 7: Wash Your Hands
Finish with soap and water, especially after medicated products.
| Step | What You Do | Time |
|---|---|---|
| 1 | Clean and dry skin | 1 min |
| 2 | Measure product | 30 sec |
| 3 | Apply in four zones, bottom-up | 2 min |
| 4 | Use the reach technique for your mobility level | 1-2 min |
| 5 | Mirror check | 30 sec |
| 6 | Clean applicator | 1 min |
| 7 | Wash hands | 30 sec |
If you’re not sure which mobility level fits you, start with the limited-rotation technique. It’s slower but safer, and you can switch to the over-shoulder reach once you’re confident the pad is staying flat against your skin.
Choosing a Lotion Applicator for Back Coverage
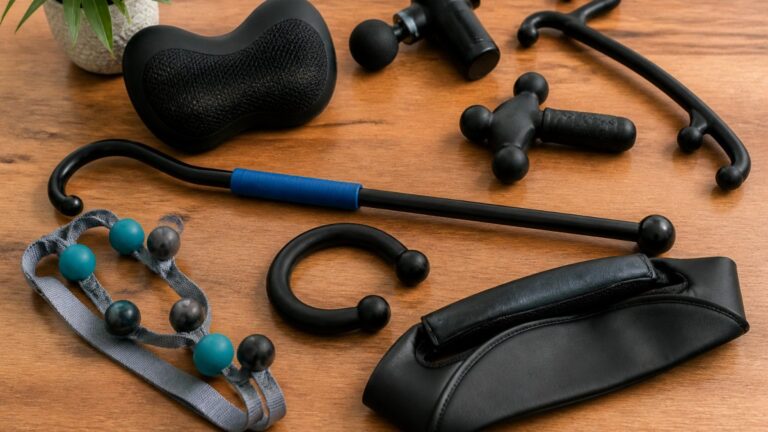
Applicator type decides how much of your back you can reach, how much product you waste, and how easy the tool is to clean.
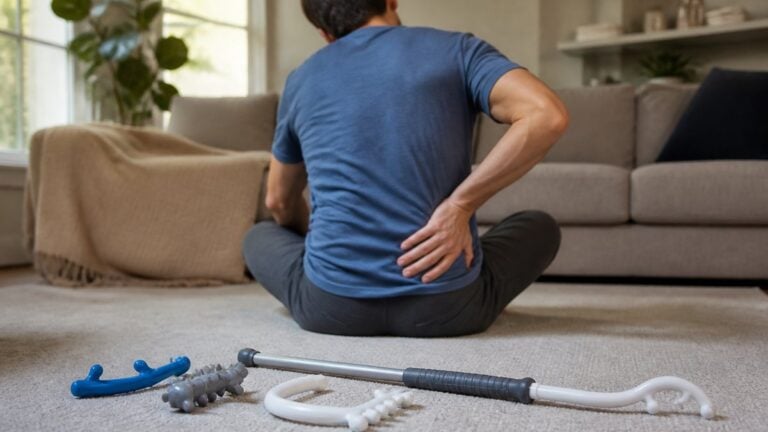
Long-handled applicator with a pad. The most versatile option.
Roller applicator with plastic balls or a rolling head. Suits thinner lotions and sprays. It glides fast but delivers less product per pass, so you need more strokes and reloading.
Sponge on a stick. The simplest option.
Spray lotion or mist. Fastest for large areas and good for sunscreen, but spray alone often leaves uneven coverage.
| Applicator type | Best for | Reach | Cleaning |
|---|---|---|---|
| Pad applicator | Thick creams, daily moisturizer | Wide strip per stroke | Washable or replaceable pad |
| Roller | Thin lotions, sprays | Fast but narrow | Harder to clean between balls |
| Sponge on a stick | Light moisturizing | Short-term use | Replace often |
| Spray or mist | Sunscreen, large areas | Fast, uneven | No tool to clean |
Hygiene and maintenance. Whichever type you choose, rinse the head after every use and let it dry fully before storing.
If your shoulders are stiff, an ergonomic grip helps more than a longer handle, especially when your hands are wet or arthritis makes gripping hard.
Never share an applicator head between a medicated cream and your daily moisturizer, and don’t use the same head on broken or irritated skin. Wash medicated applicator heads separately and let them dry completely.
How to Moisturize Your Back by Yourself Without Missing Patches
Missing patches usually come from three habits: too little product, strokes that don’t overlap, and skipping the mirror check. Fix all three and coverage improves fast.
To learn how to moisturize your back by yourself reliably, build a repeatable order: same four zones, same overlapping strokes that cross the center line, same direction, every time. Consistency beats technique.
Skipping the applicator wash is the most common mistake we see. Lotion residue traps bacteria and lint, and a dirty pad can irritate skin or cause breakouts on your back. Rinse after every use and replace pads when they stiffen.
How to Apply Tanning Lotion to Your Back for an Even Finish
Self-tanner punishes uneven application more than any other product. Streaks show up within hours, and missed patches turn into pale shapes that last for days.
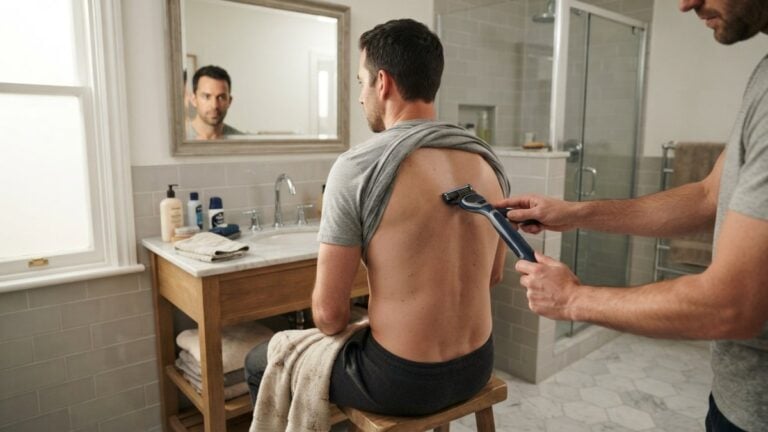
If you’re learning how to apply tanning lotion to your back, treat it like a paint job. Exfoliate a day ahead and moisturize dry areas like elbows and the lower back. Then apply in long, overlapping strokes, working bottom-up, with a mitt or a dedicated applicator head kept only for tanner. Wash your hands immediately and use a mirror to check the shoulder blades, those two spots streak most often.
For self-tanning mousse, apply less than you think you need and build in thin layers. Thin layers dry evenly. Thick layers pool and streak.
Sunscreen, Medicated Creams, and Irritated Skin
Sunscreen and medicated products need the same coverage discipline as moisturizer, with one extra rule: don’t skimp. A thin, patchy layer of SPF leaves skin unprotected in the gaps.
Use a spray bottle or mist for large areas, then spread with an applicator to even it out. The Skin Cancer Foundation’s advice on sunscreen application stresses generous, even coverage and reapplication through the day.
Medicated creams need a cleaner tool. Use a dedicated applicator head for medication and wash it separately. Never share a pad between a medicated product and your daily moisturizer.
For irritated or broken skin, apply gently and stop if it stings. If a rash spreads or doesn’t settle, see a doctor rather than layering more product on it.
Common Mistakes to Avoid
Most back-care problems come down to a handful of repeated errors:
- Straining instead of switching tools. Pain is a signal, not a challenge.
- Using too little product. Thin layers miss patches.
- Skipping the mirror check. You can’t fix what you can’t see.
- Reusing a dirty pad. Rinse after every use.
- Applying to damp or sweaty skin. Product pills and slides.
- Forcing a rigid handle over the shoulder. It lifts the pad and leaves gaps.
A well-built reacher can turn a frustrating chore into a routine, independence in your own self-care, without asking for help.
Reaching every part of your back shouldn’t depend on how flexible you are today. If shoulder stiffness or hand discomfort is making your skincare routine harder than it should be, Walton Multiback Reacher was built for exactly that problem. Our patented system holds constant resistance as you change angles, the over-molded silicone grip stays secure in wet hands, and the interchangeable attachment system covers grooming and massage with one base unit. Add to cart and make your back routine something you can do on your own.
Frequently Asked Questions
How can you put lotion on your back yourself?
You can apply lotion to your back yourself by using a long-handled lotion applicator, a spray bottle, or a sponge on a stick. Stand with your back to a mirror to check coverage. Squeeze lotion onto the applicator head, then reach over your shoulder for the upper back and under your arm for the lower back. Work in small sections and use a mirror to confirm you haven’t missed patches.
Is there a tool to apply lotion on your back?
Yes, a lotion applicator for back use is a common daily living aid. These tools usually have a long handle with a sponge, roller, or pad at the end. Some models, like the Walton Multiback Reacher, use a patented design that keeps constant resistance during angle changes, which can make reaching the middle and lower back easier for people with limited shoulder mobility. Look for a washable head and a comfortable grip.
How do you apply lotion evenly to your whole back?
Apply lotion evenly by starting with a small amount (about a teaspoon) and spreading it in long, overlapping strokes. Work from the lower back upward, then use a mirror to check for streaks or dry patches. If you use a spray, mist from about 15 cm away and rub in with an applicator. For self-tanner, apply in circular motions and wash your hands immediately after to avoid stained palms.
Should you apply lotion to your back when your skin is wet or dry?
Most lotions work best on clean, dry skin. Applying to damp skin right after a shower can help lock in moisture, but wait 2-3 minutes so the skin isn’t dripping. For medicated creams or sunscreens, follow the product label. If your skin is irritated, pat dry gently before applying and avoid rubbing. Always wash your applicator after each use to prevent bacteria buildup.